
Logitech is a company that produces a variety of computer peripherals, including keyboards. If you want to print the screen on a Logitech keyboard, there are a few steps you need to take. This blog post will show you how to print screen on Logitech keyboard using the built-in screenshot tool. We will also provide some tips on how to improve your screenshots. Let’s get started!
Methods To Print Screen On Most Keyboards
If you want to take a screenshot, also known as a print screen, of your keyboard, there are a few different ways that you can do so. The most common method is to use the “PrtScn” key, which you can find on most keyboards. This key will take a screenshot of your entire screen and save it to your clipboard. You can paste it into an image editing program like Paint or Photoshop and save it as an image file.
Another way to take a screenshot of your keyboard is to use the “Alt + PrtScn” shortcut. This shortcut will take a screenshot of the active window on your screen and save it to your clipboard. Again, you can paste this image into an image editing program and save it as an image file.
If you want to take a screenshot of only your keyboard, you can use the “Windows + Shift + S” shortcut. This shortcut will bring up the Snipping Tool, which you can use to select only your keyboard in the screenshot. Once your keyboard is selected, you can click the “Save” button to save your screenshot as an image file.
Finally, if you want to take a screenshot of your entire screen and save it directly as an image file, you can use the “Windows + PrtScn” shortcut. This shortcut will take a screenshot of your entire screen and save it in your “Pictures” folder as a PNG file.
How To Print Screen On Logitech Keyboard K780?
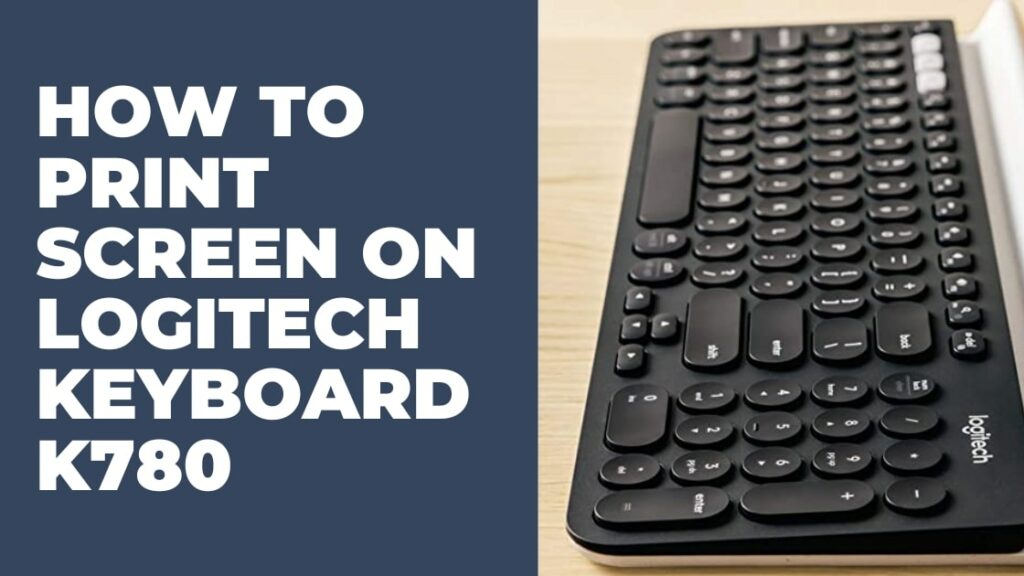
Most Logitech keyboards don’t have a dedicated Print Screen key. This doesn’t mean that you can’t take screenshots, however. There are a few different ways to do this:
1. Use the Logitech Options software.
2. Use the Windows Snipping Tool.
3. Use the keyboard shortcut: Fn + Shift + F11.
Let’s take a look at each of these methods in turn.
If you have a membrane keyboard and you wonder why do you type faster on a membrane keyboard, then you can click on the link to get the answer.
1- Using the Logitech Options Software
The easiest way to take a screenshot with a Logitech keyboard is to use the Logitech Options software. This software is available for free from the Logitech website, and it’s very easy to use.
Once you’ve installed Logitech Options, open the software and click on the ” Devices” tab. Then, select your keyboard from the list of devices.
Click on the “Keyboard” tab, then scroll down to the “Function Keys” section. Here, you’ll see an option to enable or disable the Print Screen key.
Your Logitech keyboard will now have a dedicated Print Screen key if you enable this option. To take a screenshot, simply press Fn + Print Screen, and the image will be saved to your clipboard.
If you don’t want to use the Logitech Options software, or if you’re using a Logitech keyboard that doesn’t have this option, you can use one of the other methods described below.
2- Using the Windows Snipping Tool
The Windows Snipping Tool is a built-in utility that allows you to take screenshots. Open the Start menu and search for “Snipping Tool” to access it. Then, launch the app.
Click on the “New” button to start a new screenshot in the Snipping Tool. You’ll then be able to choose what type of screenshot you want to take. We’re going to select the “Rectangular Snip” option for our purposes.
Once you’ve selected your snip type, your screen will dim, and you’ll be able to choose the area of the screen that you want to capture. Simply click and drag your mouse to select the desired area, then release the mouse button.
Your screenshot will then be opened in the Snipping Tool app, where you can edit it or save it to your computer.
3- Using the Keyboard Shortcut
If you don’t want to use the Logitech Options software or the Windows Snipping Tool, you can also take a screenshot using a keyboard shortcut.
Simply press Fn + Shift + F11, and your screenshot will be saved to your clipboard. You can then paste it into an image editor or document.
This keyboard shortcut will work on most Logitech keyboards, but it may not work on all models.
Taking a Screenshot on a Mac
If you’re using a Logitech keyboard with a Mac, the process for taking a screenshot is slightly different.
On a Mac, there is no dedicated Print Screen key. Instead, you’ll need to use a keyboard shortcut: Fn + Shift + Option + F11.
This keyboard shortcut will take a screenshot of your entire screen and save it to your clipboard. You can then paste it into an image editor or document.
Conclusion
Taking a screenshot with a Logitech keyboard is very easy, even if your keyboard doesn’t have a dedicated Print Screen key.
We hope that now you know how to print screen on Logitech keyboard. Simply use the Logitech Options software, the Windows Snipping Tool, or the keyboard shortcut Fn + Shift + F11 to take a screenshot. On a Mac, use the keyboard shortcut Fn + Shift + Option + F11.